diff options
Diffstat (limited to 'keyboards/ploopyco/nano_2/readme.md')
| -rw-r--r-- | keyboards/ploopyco/nano_2/readme.md | 38 |
1 files changed, 38 insertions, 0 deletions
diff --git a/keyboards/ploopyco/nano_2/readme.md b/keyboards/ploopyco/nano_2/readme.md new file mode 100644 index 0000000000..509a62f9fa --- /dev/null +++ b/keyboards/ploopyco/nano_2/readme.md @@ -0,0 +1,38 @@ +# Ploopy Nano 2 Trackball + +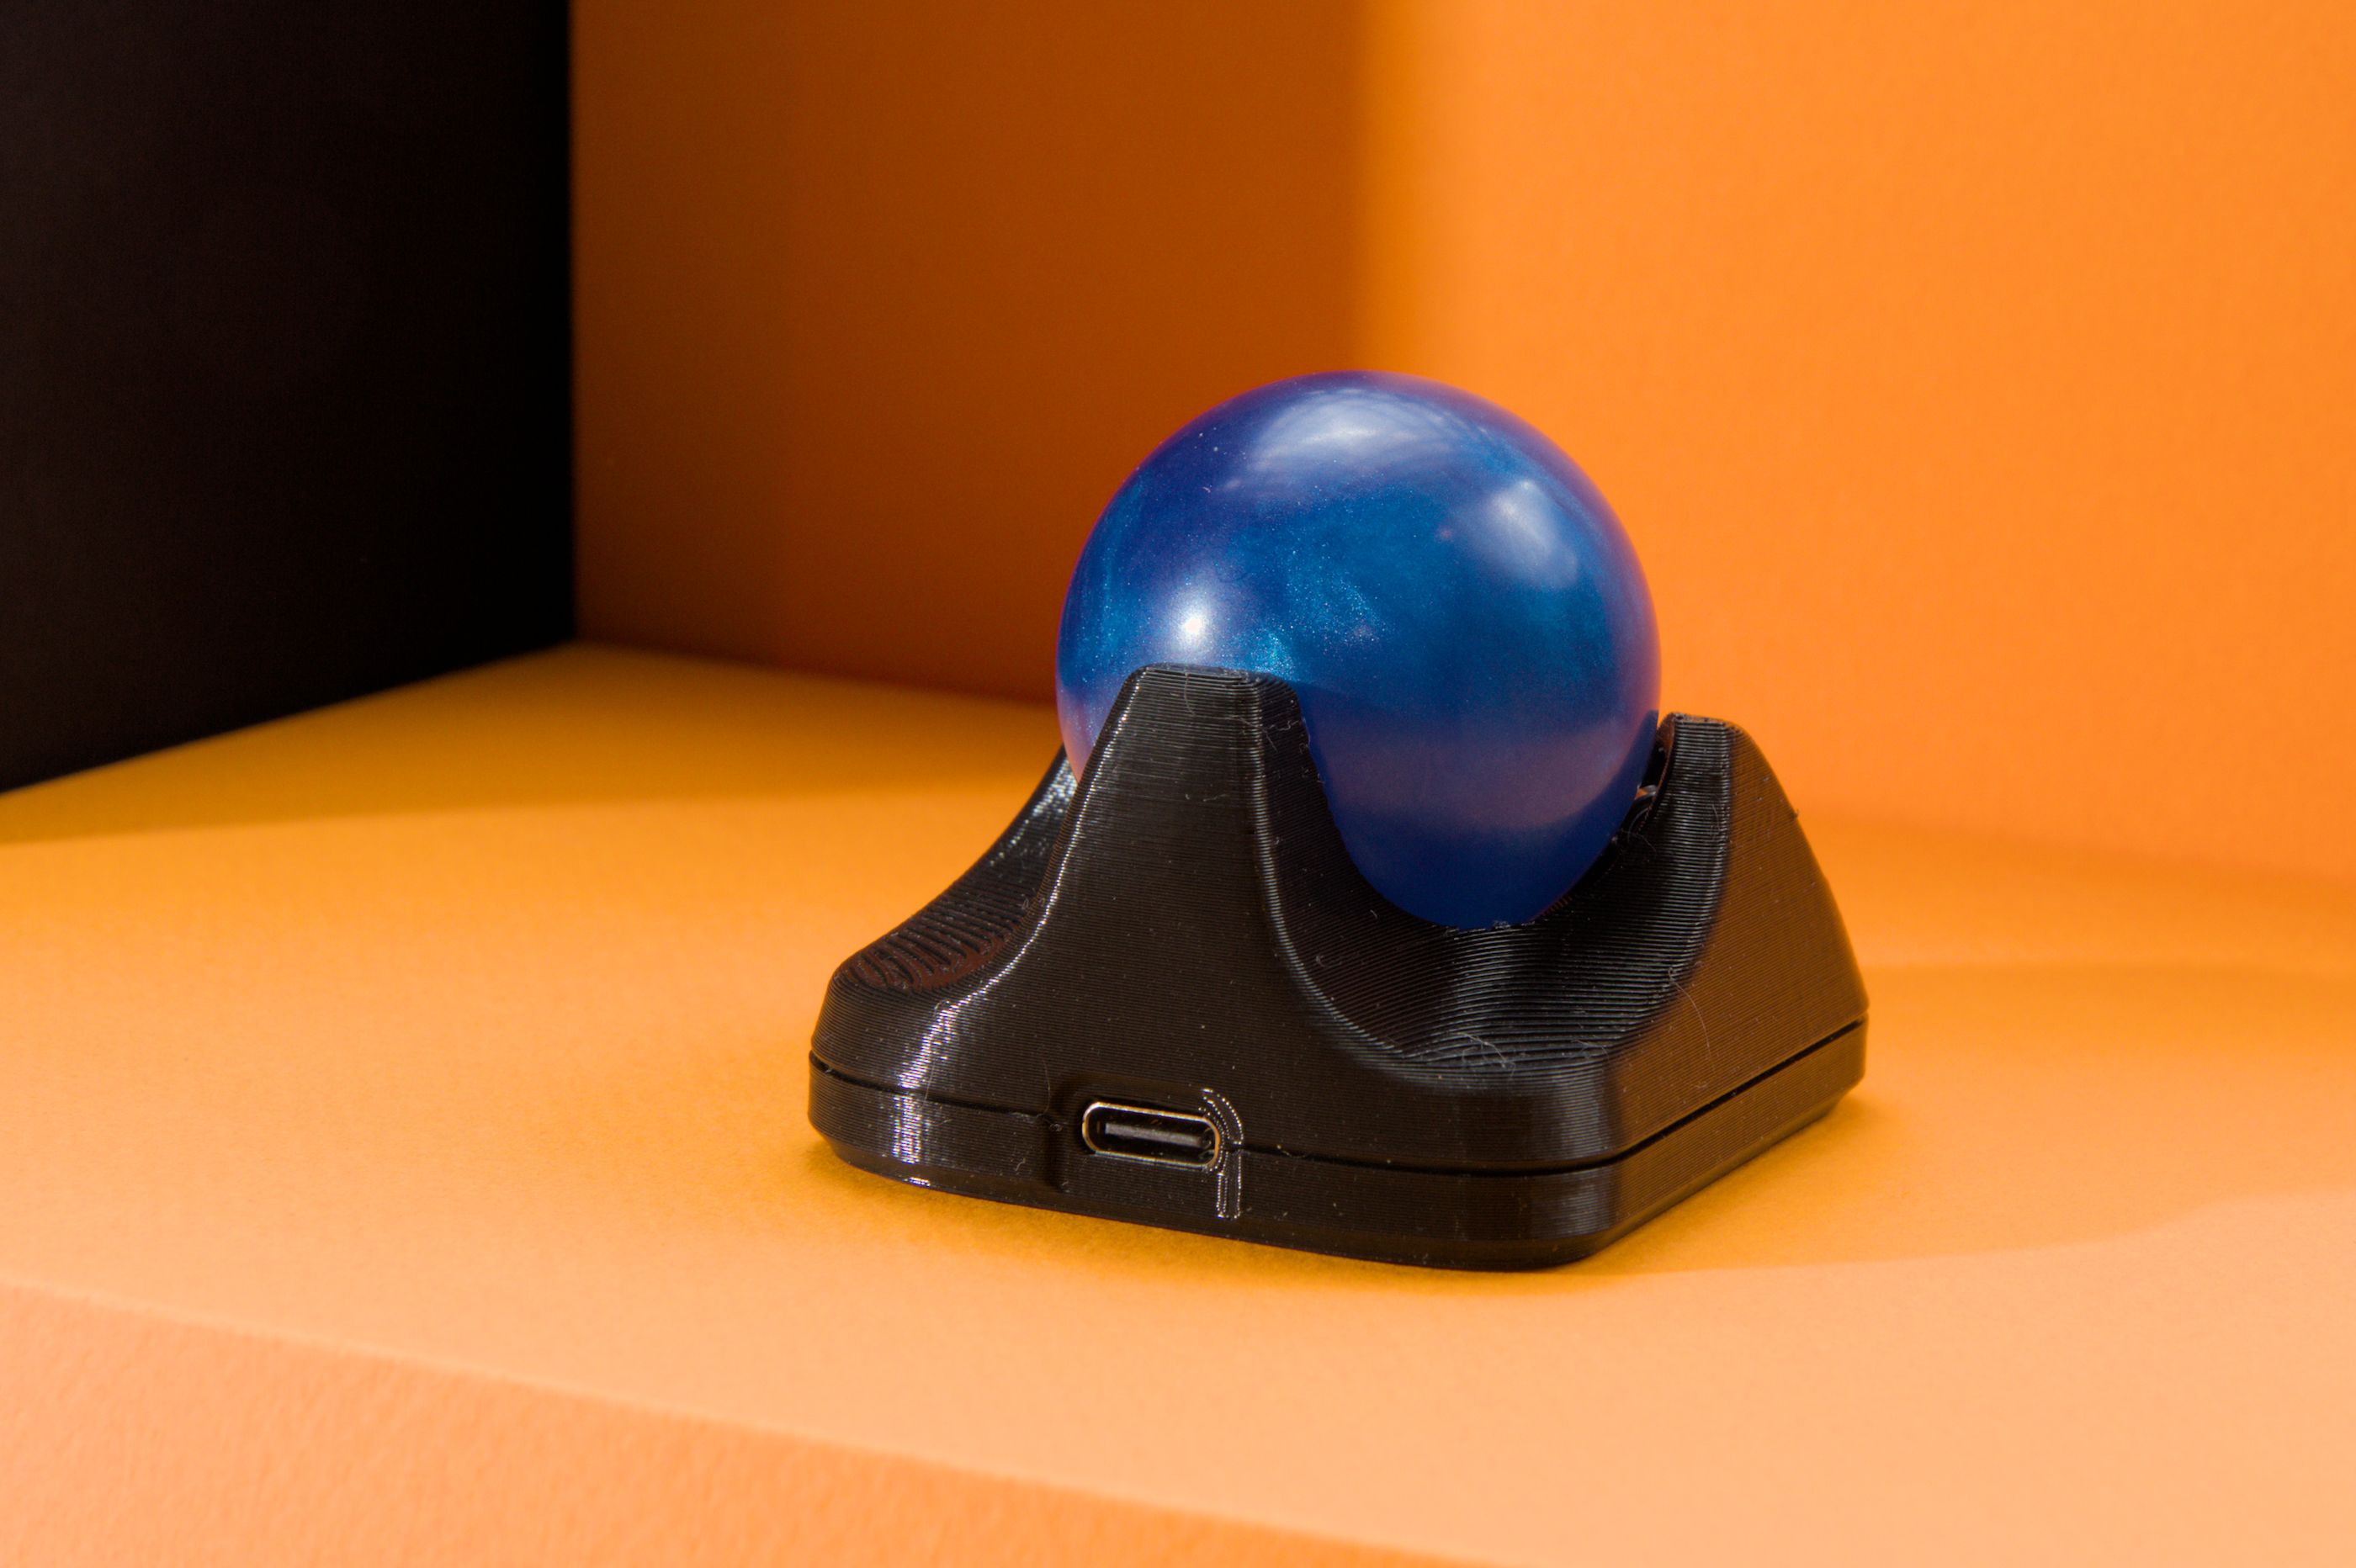 + +It's a DIY, QMK Powered Trackball...Nano! + +* Maintainer: [PloopyCo](https://github.com/ploopyco) +* Key contributors: [Drashna Jael're](https://github.com/drashna/), [Germ](https://github.com/germ/) +* Hardware Supported: RP2040 +* Hardware Availability: [Store](https://ploopy.co/nano-2), [GitHub](https://github.com/ploopyco) + +Make example for this keyboard (after setting up your build environment): + + make ploopyco/nano_2/rev2_003:default + +Flashing example for this keyboard: + + make ploopyco/nano_2/rev2_003:default:flash + +# Building Firmware + +See the [build environment setup](https://docs.qmk.fm/#/getting_started_build_tools) and the [make instructions](https://docs.qmk.fm/#/getting_started_make_guide) for more information. Brand new to QMK? Start with our [Complete Newbs Guide](https://docs.qmk.fm/#/newbs). + +# Triggering the Bootloader + +[Do you see those two golden holes in the board](https://ploopy.co/wp-content/uploads/2023/11/boot.jpg)? Those are called **vias**. They act exactly like a switch does. Right now, that switch is OFF. However, if you take a paperclip or a pair of metal tweezers and touch those two vias, the two vias will form an electrical connection. Effectively, that switch turns ON. + +Go ahead and connect the two vias, and then (while the vias are connected) plug in the Nano 2 board into your computer. + +The computer should recognise that a mass storage device was just plugged in. Once this is done, you should be able to drag and drop files onto the Nano 2 board, as if the board was a USB drive. Feel free to remove the tweezers or paperclip at this point. + +If you want to upload a new firmware file (a ".uf2" file, like "nano-2-awesome-version.uf2" or something), just drag it into the folder, and it'll automatically install on the Nano 2 board and restart itself, in normal operating mode. You're done! + +**TIP**: If your firmware is in some kind of strange state and uploading new firmware isn't fixing it, try uploading [a flash nuke](https://learn.adafruit.com/getting-started-with-raspberry-pi-pico-circuitpython/circuitpython#flash-resetting-uf2-3083182) to the Nano 2 board before flashing the new firmware. It wipes the memory of the Nano 2 board completely clean, which can help clear a few types of errors. + +# Customizing your Ploopy Nano 2 + +You can find customziation options [here](../readme.md).
\ No newline at end of file |